A Taste of Calabresi

Marocchino—Liquid Paradise
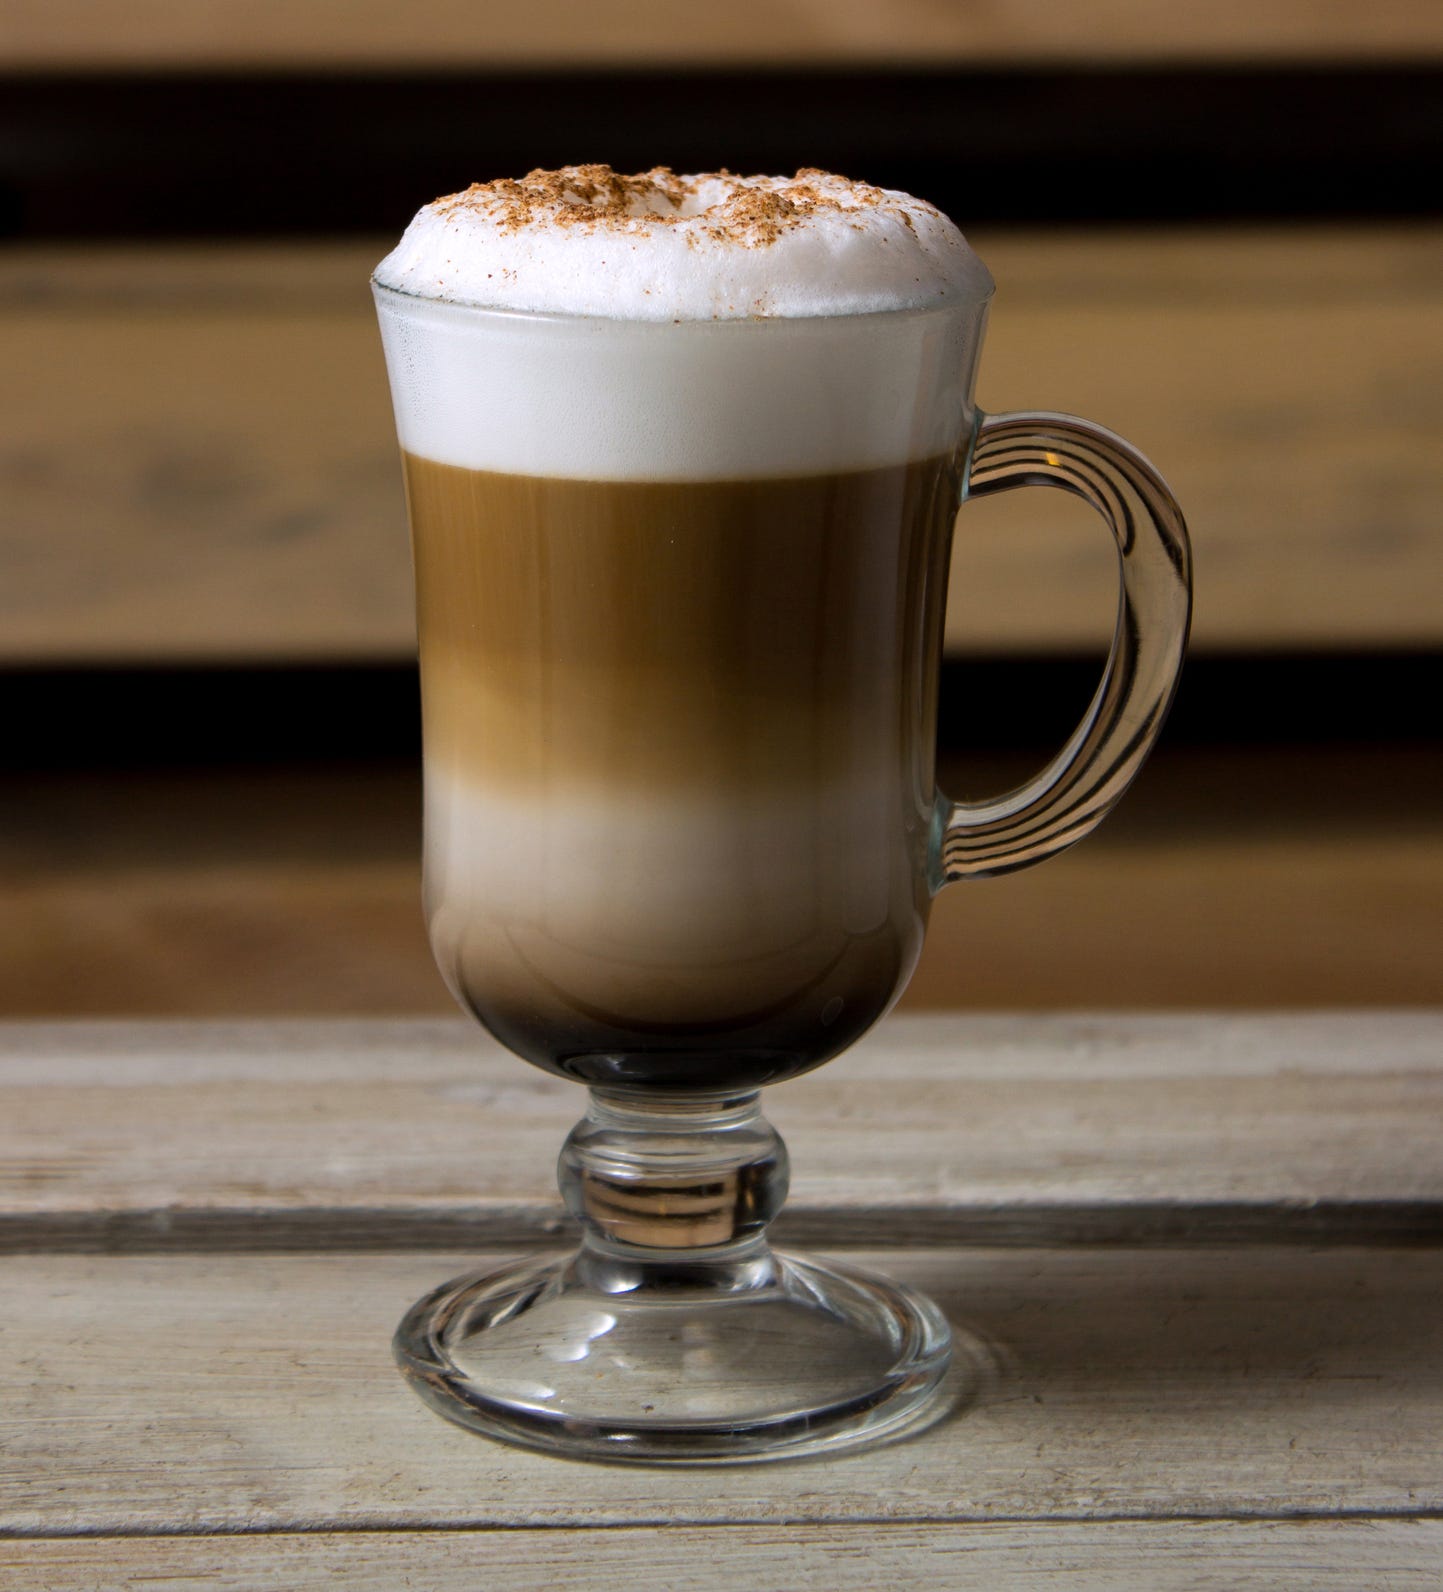
Summer’s coming but it still gets a bit cool here when the sun sets so, before you get ready to read your next installment of The Italian Lesson (whether you’re catching up with one we’ve already posted or getting ready to dive into Installment 6, which comes out on Tuesday) we wanted to share a recipe of Anastasia’s favorite comfort drink or, as she describes it, “liquid gold”—the Marocchino [ma-ro-KEY-no].
This drink is so much greater than the sum of its parts.
Ingredients
1.5 ounces espresso
Cocoa powder
Milk foam (Schiuma di latte)
Preparation
Dust a small* glass with a layer of cocoa powder. Pour in the hot espresso and cover with a thick layer of cocoa powder. Add a dollop of milk foam and generously sprinkle more cocoa powder on top.
The ingredients in this drink are layered so each separate ingredient should be visible. It looks beautiful, so once your drink has been fully assembled, admire it for a split second, stir, and then drink!
The Marocchino originated Alessandria, a small city in the Piedmont region 200 miles north of Florence. Luckily, good news—and recipes—travel.
*The glass can be as big as you want it to be—and the recipe can be doubled, tripled, quadrupled. We won’t judge.
Variations
Instead of a shot of espresso, use a ristretto. To do this, use a finer grind of coffee bean and half as much water. This will intensify the coffee taste.
Exchange steamed, frothed milk for the schiuma di latte
You can drizzle chocolate syrup on top instead of (or in addition to!) the cocoa powder
Replace the layer of cocoa powder with Nutella, a hazelnut cocoa spread (inspired!)
The Marocchino is a creamy, intense, quintessentially Italian drink; perfect to sip on a cold winter morning or a cool spring evening while you read the next installment of The Italian Lesson.
Ci vediamo!
How to Make a French Martini Italian
It may be winter when The Italian Lesson opens, but as summer approaches us, we want you to be ready for hot summer days and warm summer evenings with an easy-to-make cocktail that will make you feel like you jumped into a cool ocean during a heat wave.

Typically made with Chambord, the French Martini becomes much better if we make it with an Italian twist—use Crème de Cassis instead of Chambord and (our favorite part) add extra-dry Prosecco.
INGREDIENTS [Serves 2]
2 oz. vodka
1 oz. Crème de Cassis
1 oz. pineapple juice
Ice
2 oz. Prosecco
INSTRUCTIONS
Pour vodka, Crème de Cassis, and pineapple juice into a cocktail shaker over ice. Shake to get as cold as possible. Strain it into a martini glass.
Add Prosecco.
Or you can pour into an old-fashioned glass over large ice cubes .
For a delicious semi-mocktail, pour equal parts pineapple juice and San Pellegrino over ice and add a Crème de cCassis floater (the liquer has a low alcohol content of only 15%). For a straight-up mocktail, simply replace the Crème de Cassis with the same amount of black currant syrup.

Do you want a cocktail that’s lighter and drier? Just hold the vodka, ice, and pineapple juice and you wind up with an absolute classic: the Kir Royale.
All you have to do is add one ounce of Crème de Cassis to four ounces of Prosecco—fresh raspberries optional—and you have the perfect cocktail to sip while watching the sunset over Tuscan vineyards. Salute!
First Date
The alpha and omega of the meal
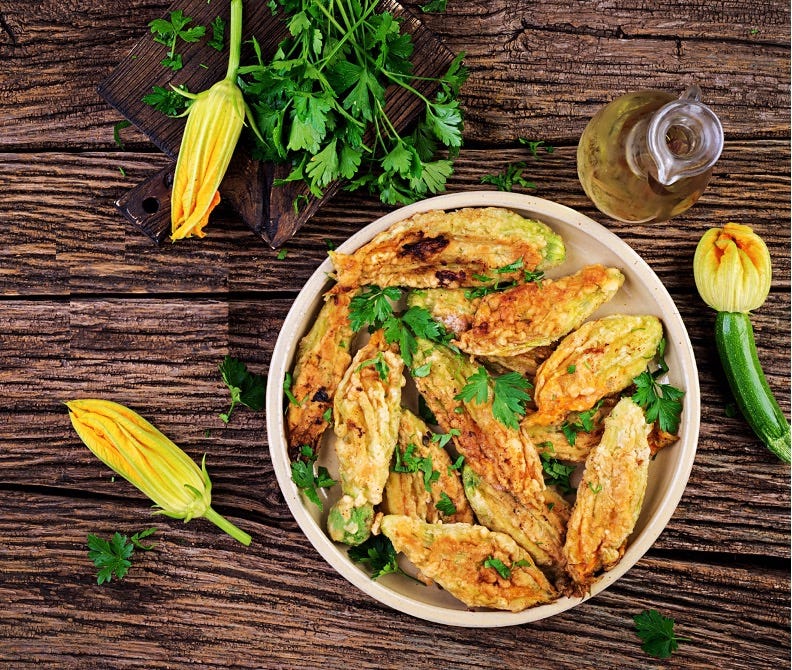
The first time I had stuffed zucchini blossoms was at a restaurant in Parma much like La Serratura, where Anastasia and Matteo have their first date. I’d never tasted anything like them.
Luckily, it turns out they’re fairly easy to make.
Stuffed Zucchini Blossoms
Before anything else, gently clean the blossoms, removing the stamen or pistil.
Ingredients
[yield: either 2 to 4 servings depending on whether you’re sharing them with Anastasia]
The stuffing
Cooking oil (amounts vary depending on the size of the pan—you’ll want at least ¼” of oil to fry the zucchini blossoms)
12-16 Zucchini Blossoms
½ cup whole milk Ricotta Cheese
1-ounce grated Pecorino Cheese
1-ounce mozzarella Cheese, shredded
1 egg
Sea salt and black pepper
The batter
2 eggs
¼ cup flour (00 or all-purpose)
¾ cup sparkling water
¼ cup grated Pecorino
1 TBS chopped Italian parsley
Preparation
The stuffing
Lightly beat the egg and then mix all the ingredients together.
Place mixture into small pastry bag.
Squeeze approximately one teaspoon of the ricotta mixture into the blossom and gently seal, twisting the petals at the top. Remember, this is all about the blossoms—the purpose of the filling is to enhance, not overwhelm, their delicate taste. As tempting as it might be, do not use too much filling (even though it’s delicious on its own).
Refrigerate the blossoms while preparing the batter.
The batter
Lightly beat the eggs.
Mix in the milk, flour, cheese, and Italian parsley. The batter should have the consistency of pancake mix.
Cooking
Add enough oil to a large sauté pan so it’s about a ¼ inch deep.
Dip each blossom into the batter, allowing any excess to drip off. Add four or five to the oil when it reaches a temperature of 350°.
Fry for 2 to 3 minutes on each side, or until golden brown.
Remove from oil and drain blossoms on paper towel.
When ready to serve, add grated Pecorino, salt and pepper to taste (optional) and garnish with Italian parsley.
Subscribed
Arugula Salad with Peas Shoots and Roasted Pine Nuts
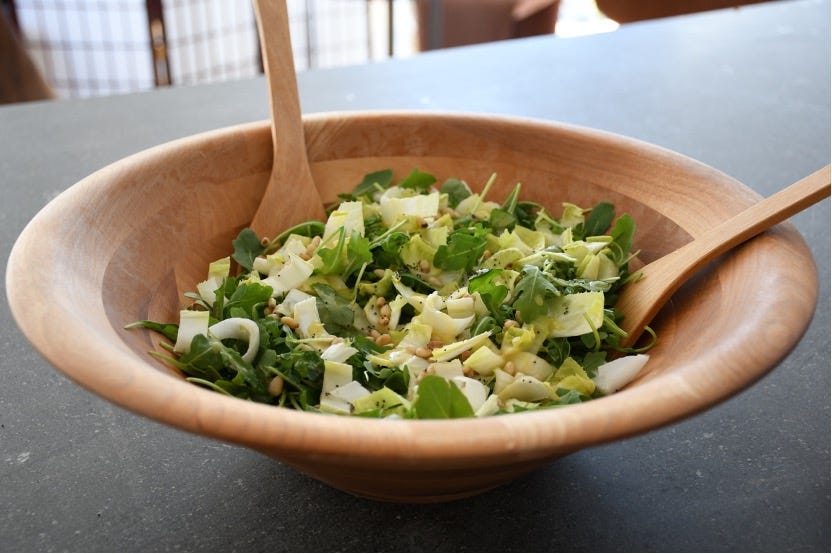
The best salads are often those with the fewest ingredients. It goes without saying that these need to be as fresh as possible—preferably locally sourced. This is exactly the case with the arugula and pea shoot salad—add some roasted pine nuts and a delicate lemon-poppyseed dressing and the results are sublime. This salad tastes like spring in Tuscany.
[Nota Bene: Traditionally in Italy, salad is eaten after the main course. This isn’t as true as it used to be but La Serratura is a very old school restaurant.]
Pea shoots are microgreens which are simply young vegetable plants that are harvested while still seedlings. They’re the seedling of any pea plant like snap peas, snow peas, or English peas. They are tender, extremely nutritious, and have stronger flavor than sprouts.
[I couldn’t find pea shoots at the market near me and when I ordered them, I got bean sprouts instead—which are not at all the same thing. So I subbed the pea shoots with endive, which is fine but this is a much better salad, as well as one that pairs better with the lemon poppyseed dressing.]*
The hardest part of putting the salad together is roasting the pine nuts. You can either do this in a skillet or, if you have a lot of them, in the oven on a baking sheet. Either way, don’t use any oil.
In a skillet:
Place skillet over a medium flame and add the pine nights. Make sure to stir them with a wooden spoon frequently. It should take between two and three minutes for the nuts to become golden brown.
In the oven:
Pre-heat oven to 350°. Place the pine nuts in a single layer on the baking sheet (no oil!). Cook for about 5 minutes, stirring half-way through.
Whichever method you choose, be aware that pine nuts can burn quickly, so keep an eye on them. In order to make sure they don’t overcook, remove from the heat as soon as they’re done. Burnt pine nuts do not taste good.
Lemon Poppyseed Dressing
Ingredients [yield: 6 servings]
1/4 cup freshly squeezed lemon juice
1/4 cup extra-virgin olive oil
1 teaspoon Dijon mustard
1/8 cup honey
1/4 teaspoon fine sea salt
1/2 tablespoon poppy seeds
1/8 cup diced red or Vidalia onion (optional)

The simplest way to make this delicious, light dressing is to leave out the onion. Place all of the ingredients in a Mason jar, and then shake until thoroughly combined.
If you do use the onion, blend all ingredients, except the poppyseeds, in a blender until smooth. Pour the dressing into a Mason jar, add poppyseeds, and shake. Either add directly to the salad or refrigerate for a few minutes.
*Speaking of pairing, both of these courses will go very well with a bottle of Pecorino wine (no relation to the cheese!) that is produced in the Abruzzo region.
Buon appetito!
Ambrosia
Pound cake of the gods
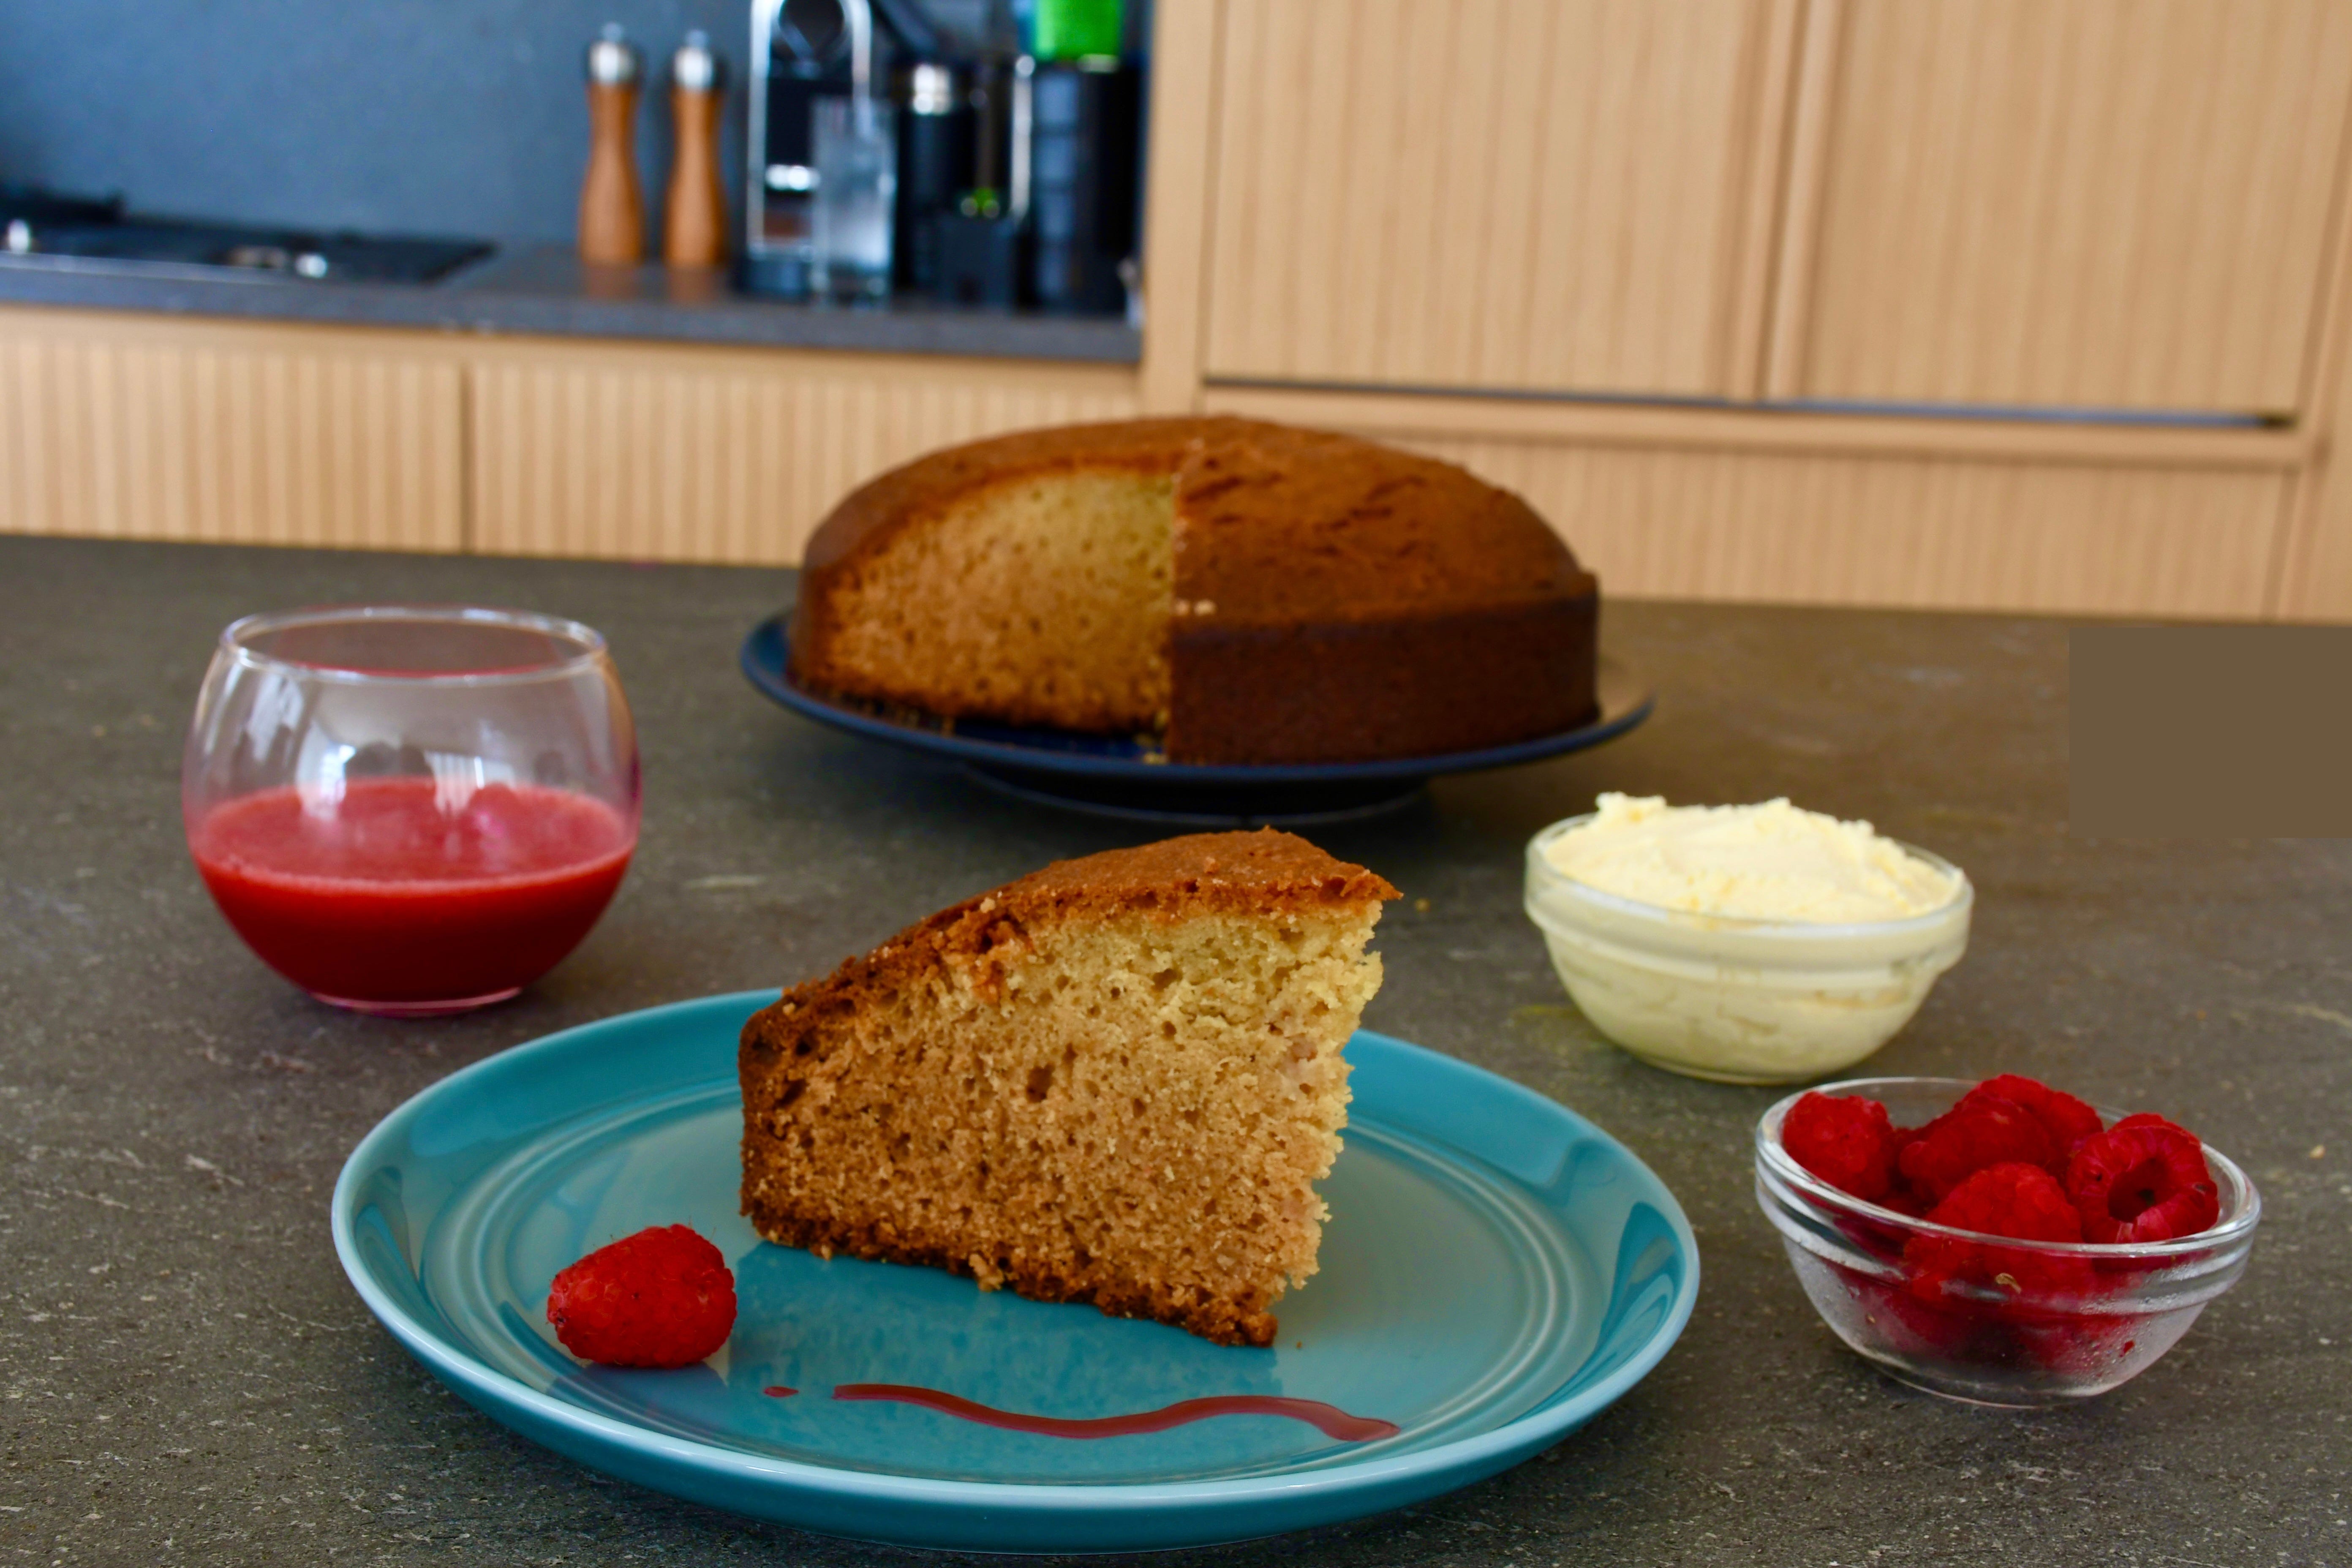
Anastasia had never heard of olive oil cake before she met Isabella, and it soon became one of her favorite guilty pleasures. As she told her friend, it tasted like pound cake that had been dipped in ambrosia.
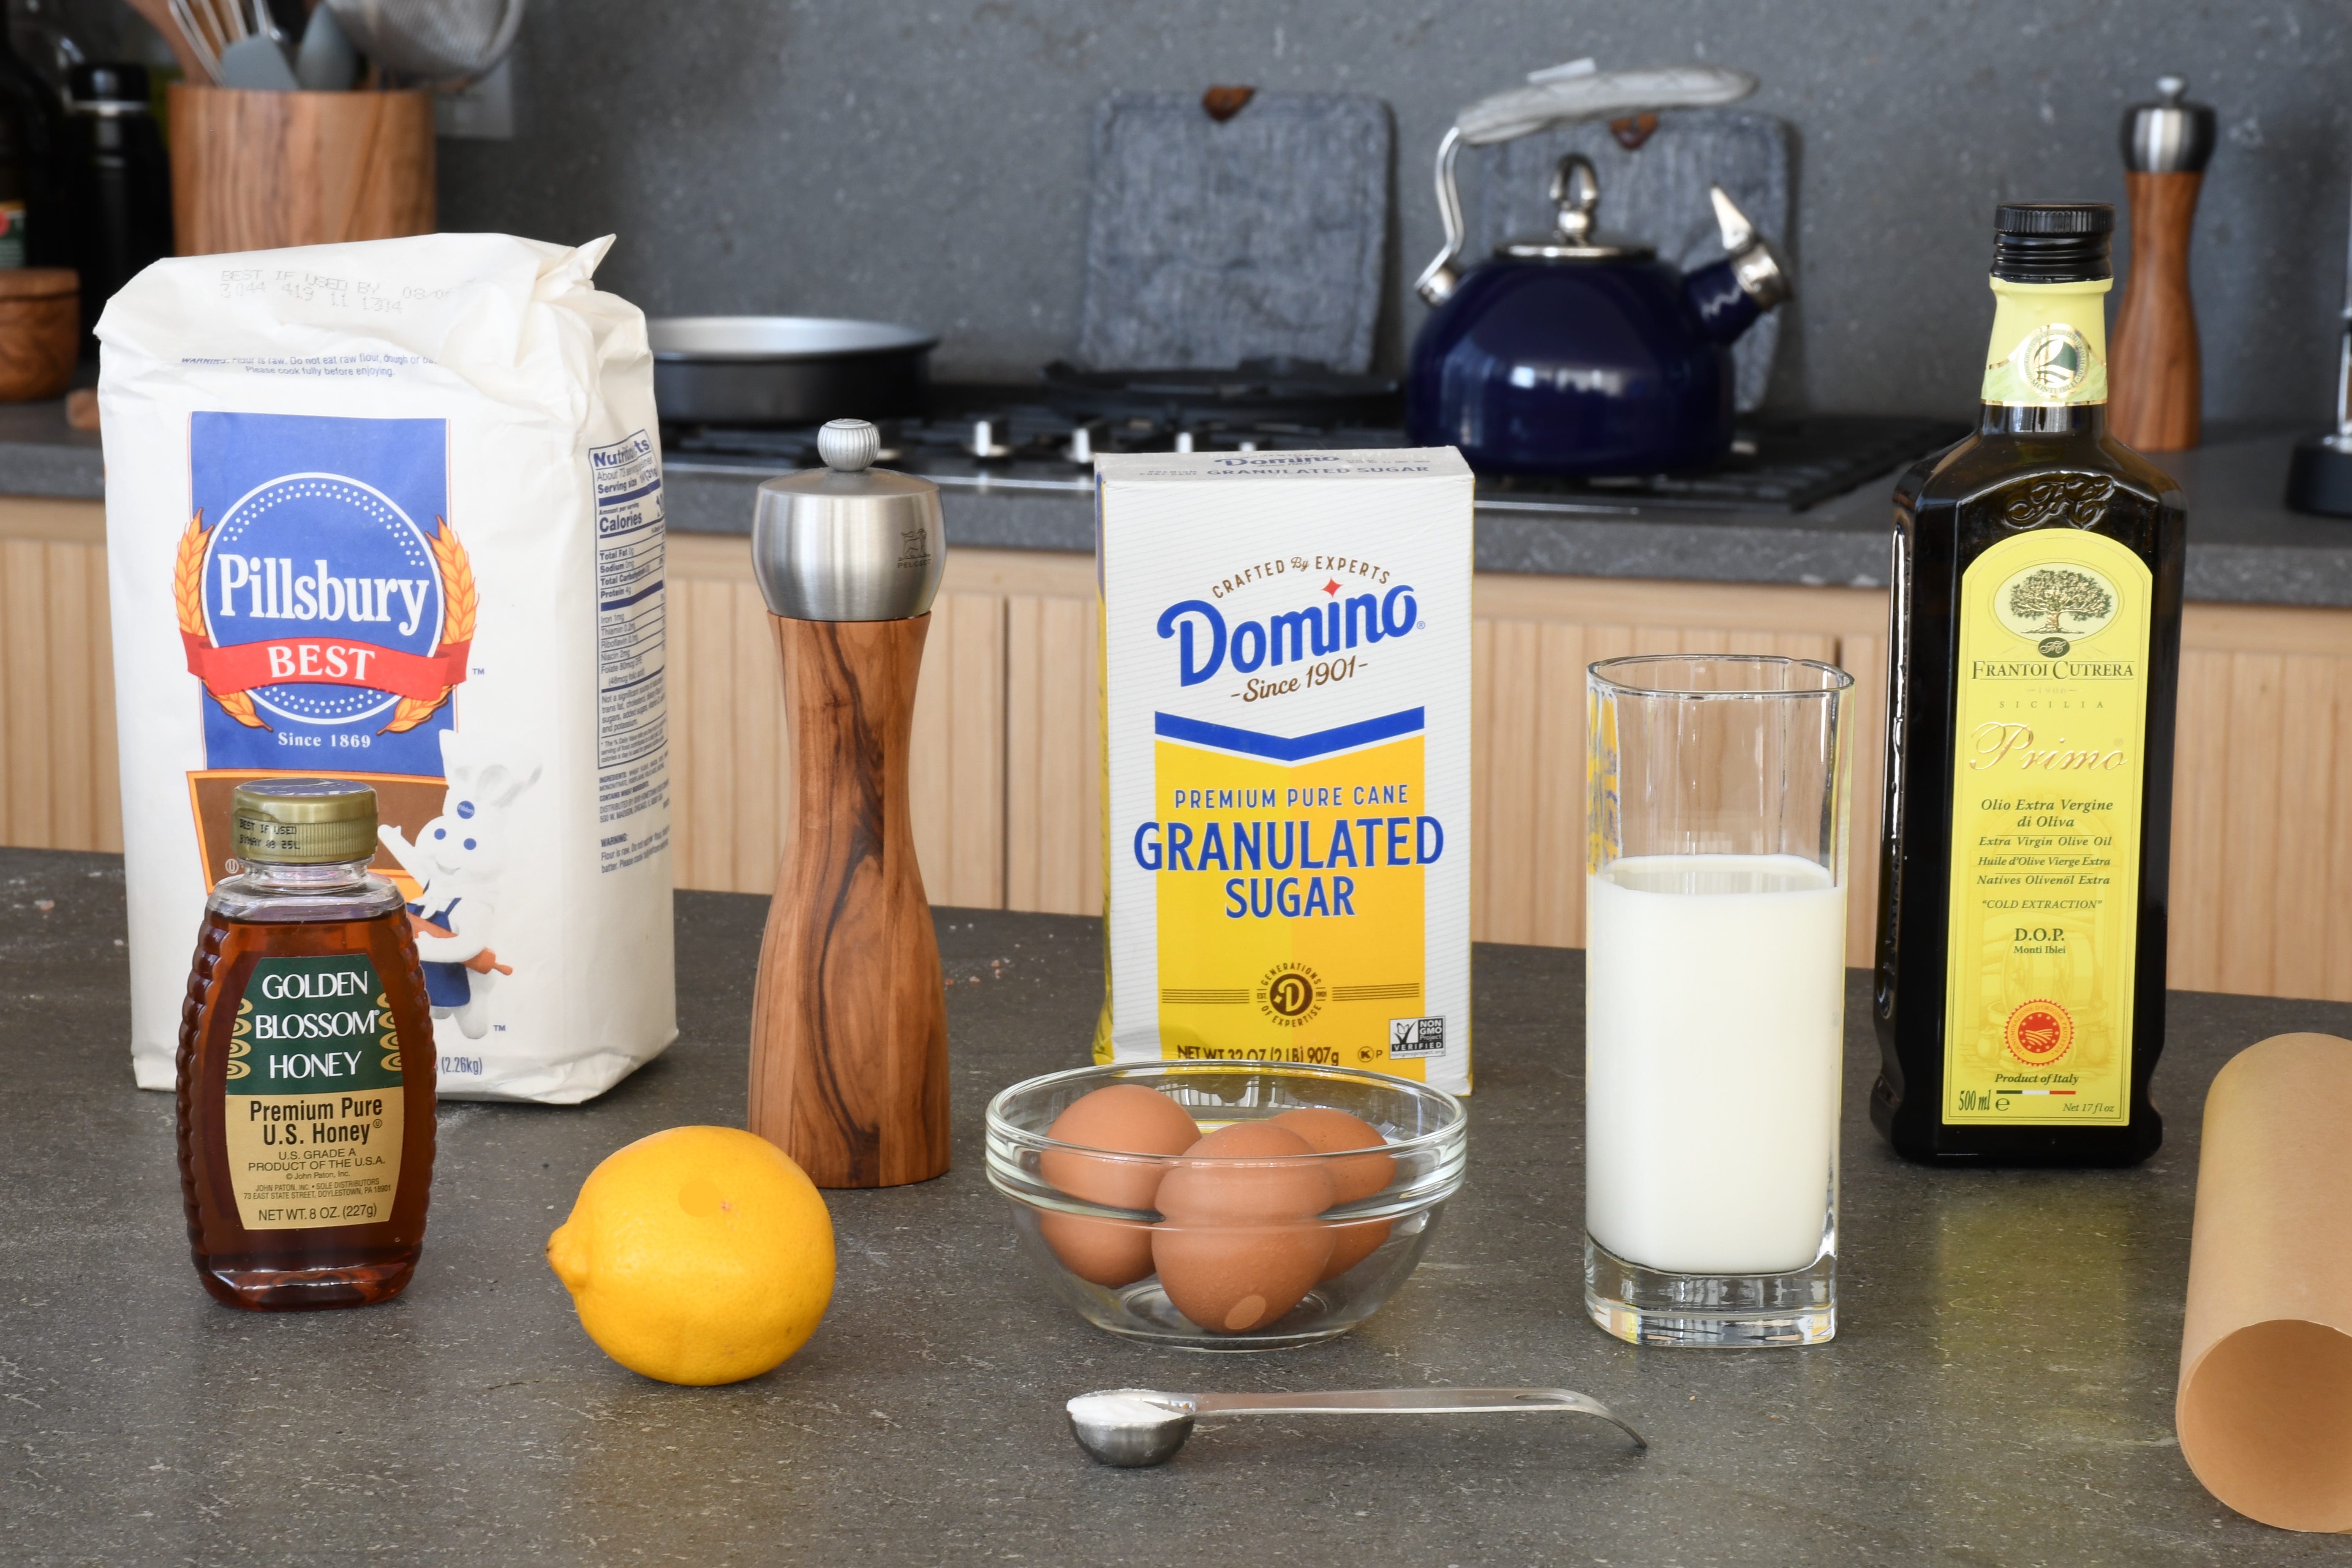
Despite how glorious it tastes, olive oil cake is extremely easy to make. The ingredients are simple—you probably already have most of them in your pantry.
Olive Oil Cake
Ingredients
3 cups all-purpose flour
½ teaspoon baking soda
1 teaspoon baking powder
1 ½ teaspoons kosher salt
1 ¾ cups granulated white sugar
3 large eggs [room temperature]
1 cup extra-virgin olive oil, plus some to grease the pan
1 cup whole milk
1 tablespoon honey
2 tablespoons freshly grated lemon zest
Confectioner’s (powdered) sugar for dusting [Optional]
A note on substitutions:
I didn’t have any baking powder on hand so I used a teaspoon of vanilla instead. The cake still rose beautifully.
You can use almond or oat milk if you prefer
You can sub orange for lemon zest.
Dusting the top of the cake is an aesthetic choice, but as for flavor, I think this cake speaks for itself.
Preparation
Set out eggs so they reach room temperature.
Preheat oven to 350 degrees F (175 degrees C—we’re in Italy :) ).
Line the bottom of a nine-inch cake pan with a round piece of parchment paper. Grease bottom and sides with olive oil.
Combine all dry ingredient—except sugar—in a bowl. Whisk to combine thoroughly.
In a second, larger bowl, combine eggs, sugar, olive oil, milk, honey, and lemon zest. Gradually add dry mix and whisk until the mixture is smooth.
Pour batter into cake pan. Gently lift pan and tap against counter to remove bubbles.
Bake for approximately 60 minutes. Use a toothpick to make sure the center has cooked through. With this recipe it’s better to undercook a little than overcook.
Let cool for 30 minutes, then use a knife to loosen the sides of the cake. Turn upside down onto plate, remove parchment paper. Cool completely before serving.

RASPBERRY COULIS [koo-LEE]
Again, this cake can absolutely stand on its own, but an Italian restaurant near me serves it with raspberry coulis and clotted cream (!) on the side and, well, that’s pretty amazing, too.
Making clotted cream from scratch is time-consuming and not necessary. It’s easy enough to find at a speciality market.
The Ingredients
All you need for this ultra-simple recipe is:
Raspberries*: a pint and a half (approximately 3 cups)
Confectioner’s (powdered) sugar: 1/4 cup plus extra in case the coulis needs to be a little sweeter.
Lemon juice: 1 teaspoon
*It’s totally fine to use frozen raspberries. Just make sure you thaw them first.
Preparation
Put the raspberries in a blender. You don’t want the coulis to be too sweet but rather let the sugar bring out the raspberries’ natural sweetness, so start with an 1/8 of a cup, blend thoroughly, and then continue to add more sugar in small increments to taste.
Purée until the mixture is smooth.
Place a sieve with a fine mesh over a small bowl and pour purée in. Press on the mixture to get as much juice out of it as possible.
Add lemon juice and, if necessary, add more confectioner’s sugar to taste.
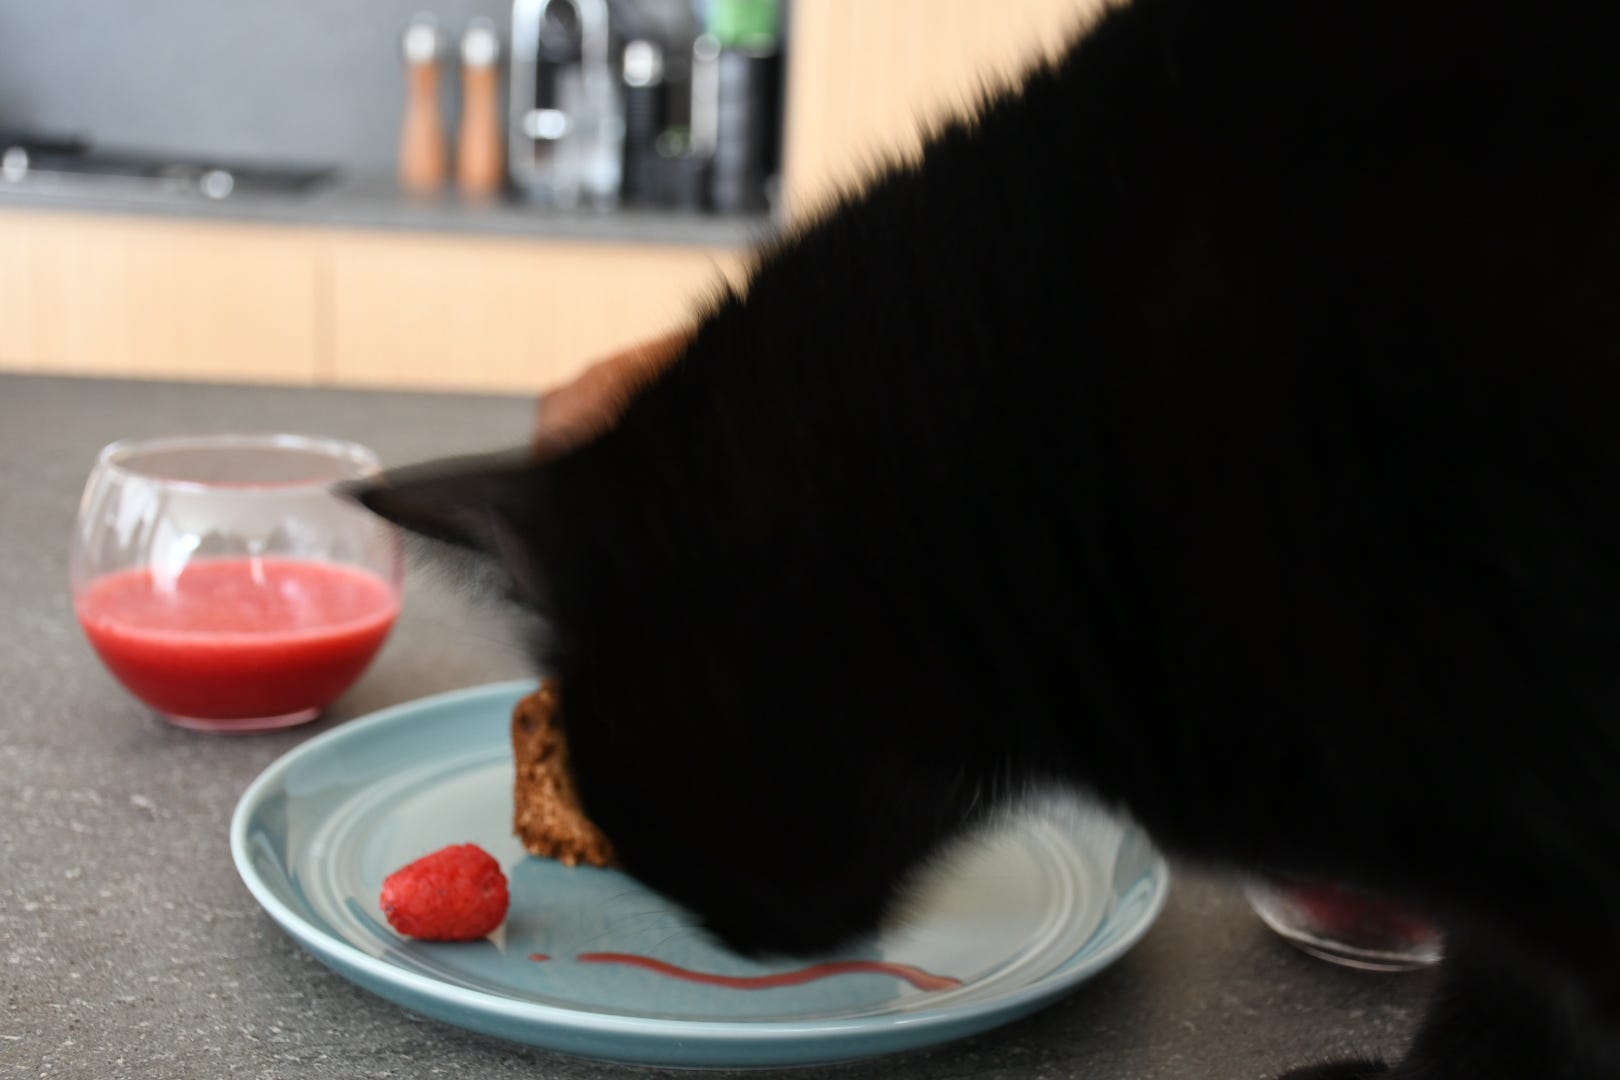
There is no fur in this olive oil cake.
Buon appetito!